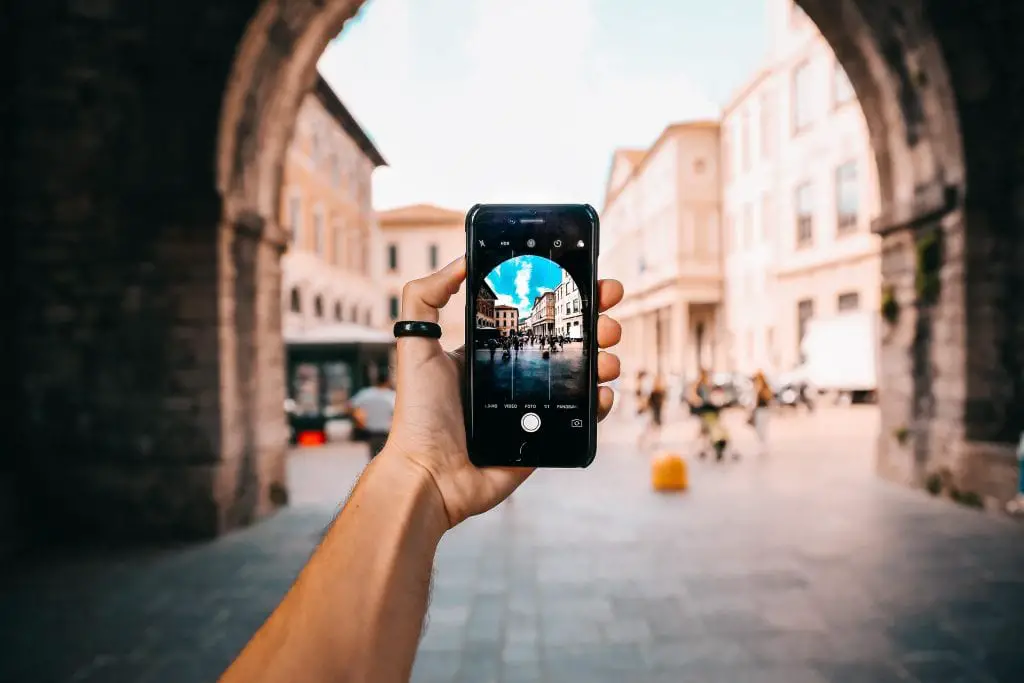
A picture is worth a thousand words. And who doesn’t love to photograph or be photographed? Be it any occasion; everyone loves to capture it. These pictures are wonderful memories for anyone to walk down memory lane when they feel the need to look back. There are various electronic devices used to capture pictures, and everyone around had one or more of them.
The list,
– A good old pocket camera
– A professional DSLR
– A SmartPhone
– An iPad
– A Tablet
Depending on our budget, convenience, and utility, we usually pick the device that best suits us to capture memories. In this era of smartphones, we are truly spoilt for choice. There are so many amazing phones out there with high camera quality that the images captured are brilliant. Among the various smartphones out there, iPhones are extremely popular. According to a report in 2018, 217.72 million iPhones were shipped globally. Android is very popular too, but iPhones seem to be much more popular. This is despite the fact that everyone may not be able to afford it, iPhone features some of the best cameras for mobile phones and capturing images is such a delight. Some features to highlight include,
– Greater dynamic range
– Easier to use
– Very versatile
– Identical in sharpness
– High quality lens and sensor
– Sharp shooting in low light
Every individual clicks tonnes of pictures. No one would like to miss a chance to get clicked or be clicked. We try to fit everything in that frame ranging from 5.5 inches of an iPhone to 12.9 inches on an iPad. So many pictures are snapped and distributed. We like to share it on social media, via emails and instant messaging like Whatsapp, Stack, Gtalk, to name a few.
Let us dwell a little more in detail on how to attach photos on email on an iPad or iPhone. You would have most probably noticed that there isn’t an attachment button when an email is composed in iOS Mail App. So the big question arises as to how is it done? For any apple product, be it an iPhone or iPad, it can get a little tricky to attach photos to email.

This can be a little harder, especially if it is being done for the first time. Not wanting to appall, it is tricky only the first time. But after that, once you know what to do, it is very straight forward. Be it an iPad or an iPhone, the procedure remains the same as explained below.
Here are the steps that need to be followed while inserting and attaching photos to email on iPad or iPhone,
1. Inserting a Photo
– There is an app called – MAIL APP on your iPhone or iPad. This app is on the home screen or the app drawer. Locate that app first.
– At the bottom right hand corner, there is a button called COMPOSE. Tap on this button.
– Once you have tapped on the compose button, a few fields need to be filled. You need to fill in the 3 most important fields,
a. Sender Information – To whom this email is being sent to.
b. Subject – Type in what is appropriate in context to the email you intend to send.
c. Body – Text of the email
– The above three information is similar to the way any email information is sent from the sender to the receiver.
– Recheck the filled information to make sure the email address is correct.
– Next tap on BODY. Once this is done, a menu will appear.
– You will get an option to choose from here. Choose the PHOTO ICON.
– Then select the photo or a video of your choice you would like to insert. Once selected, check the preview of the image.
– After checking the preview and being satisfied, hit the SEND button. This button is available on the upper right hand corner.
– The email is sent and you are done.
2. Attach photos to email on an iPad or iPhone
– Locate the MAIL APP on the home screen of either your iPhone or iPad.
– Once it is located, you will see a button called COMPOSE. This button is located on the right-hand corner.
– Go ahead and fill in all the required fields including, Sender Info, Subject, and Body. This is the same information that gets filled out when we send out any email, be it for personal or professional purposes.
– Now tap on the body. Once you tap, a menu will appear.
– Select the ATTACHMENT ICON next.
– Here, you can select the photo you wish to attach in your email. You will also be able to check the preview.
– Once you have the photo and are happy with the preview, then very confidently hit the SEND button. On clicking the send button, the email will be delivered to the address mentioned.
Congratulations! You have successfully attached a photo to email in iPhone or an iPad.
How it works for older Apple devices?
For anyone who has older iDevices, i.e., older iPhones or iPads, you can attach photos to emails. All you have to do is Copy & Paste. Here are the rules to it,
– Compose the email. Launch Photos APP when you hit the Home button.
– Locate the photo you want to attach in the email. Tap it and open it.
– After that, tap and hold on to the image or photo until you are able to see the “Copy” option. Tap to copy it.
– Double-tap the home button and select the mail app to switch back to your message.
– Tap and hold onto it until you see the ‘Paste” option. Select it to attach the photo into the email attachment and voila, your photo is attached to the email.
Now that you have learned how to insert and attach a photo to an iPhone and iPad email, it verily feels like a cakewalk. Follow the mentioned steps, and in no time, you will be a pro at attaching photos on email on iPad.


